
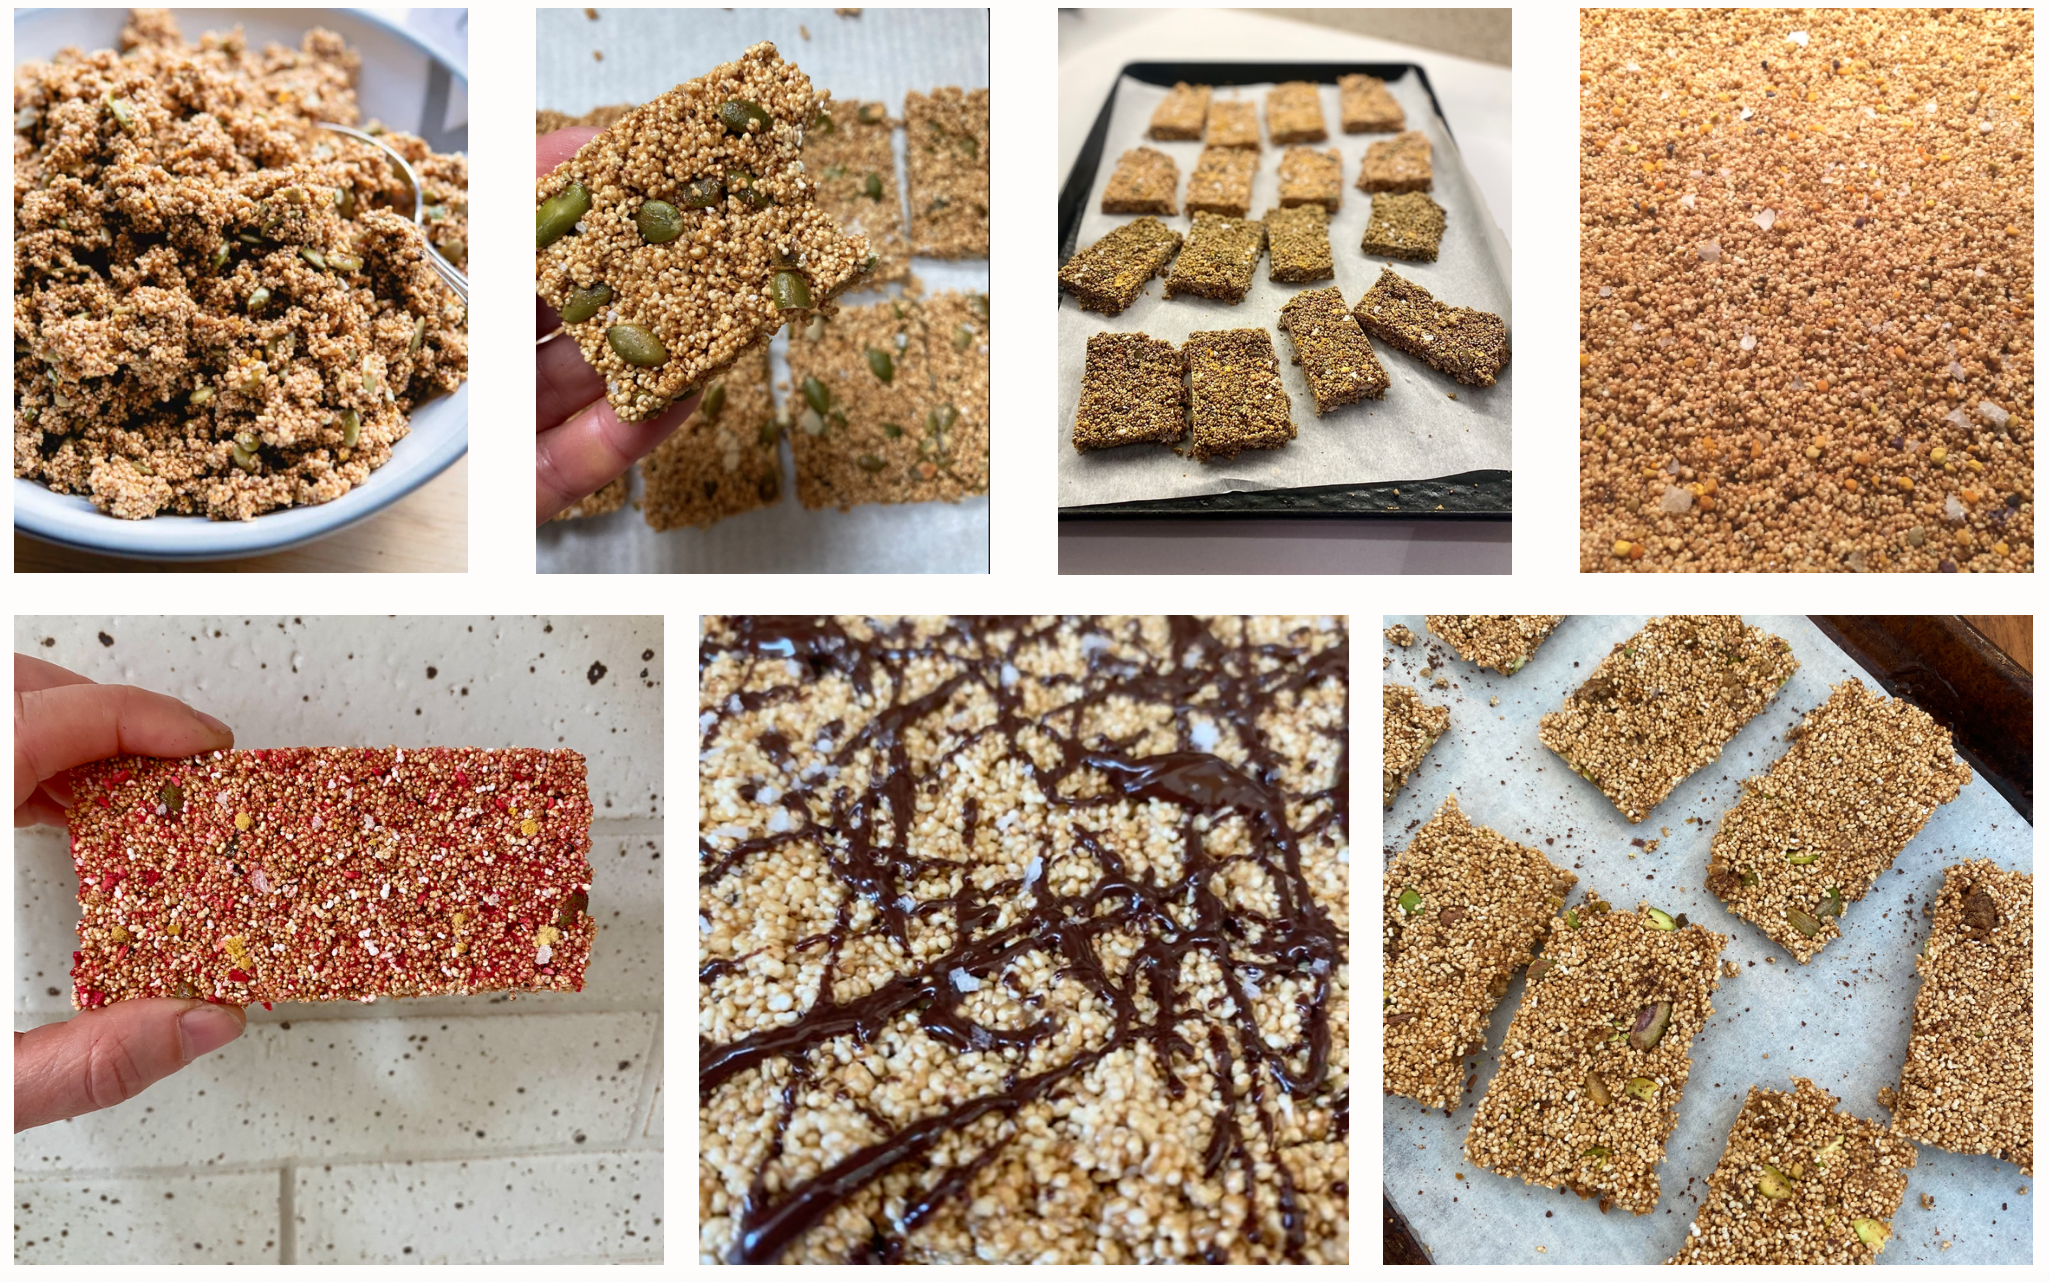
Amaranth Bars
Olive Oil & Maple Granola
Fried Rice
Amaranth Bars
This recipe is inspired by the Mexican candy alegría (Spanish for “joy”), which I first enjoyed during a rock climbing trip to El Potrero Chico in Nuevo Leon, Mexico, in 2014. When I returned to Portland, I came up with this version. I love it so much that I’ve considered bringing it to market. Free of gluten and full of protein, fiber, and minerals, amaranth is a sustainable, ancient grain (though it’s technically a seed). This is a flexible template, with infinite variations. It’s great as a snack, on top of oatmeal, or as a dessert - it’s been a popular topping at the local frozen yogurt shop Eb & Bean.
Makes 8 3-inch x 2-inch bars
¼ cup amaranth seeds (or 1 cup popped amaranth)
¼ cup honey
1 Tablespoon tahini
½ teaspoon vanilla extract
¼ teaspoon salt
2 Tablespoons toasted pumpkin seeds (pepitas)
Pinch of flaked salt, optional
Pinch of bee pollen, optional
Place a medium bowl next to the stove.
Heat a tall pot over high heat. Sprinkle a few drops of water in. Once they bead up and dance to the edge, the surface is hot enough to pop amaranth. Add 1 tablespoon of amaranth. Shield with a lid or screen but don’t cover, or it will burn. Once popped and white, transfer to a bowl. Repeat with the rest of the amaranth. You should have about 1 cup. It’s okay if not every seed pops, you can still use them.
(The first batch may pop unevenly - like the first pancake goes to the dog. Depending on your stove and the thickness of the bottom of your pot, you may need to lift the pot up off of the burner and shake it a bit. It takes some finessing but don’t give up!)In a small saucepot, bring the honey to a gentle boil, then simmer for 2 minutes. There should be small bubbles across the surface. (Note that the longer the honey simmers, the more liquid evaporates, making the bars crunchy like sesame snap candy.) Add the tahini and simmer for about 1 more minute, swirling to fully combine.
Remove from heat and stir in vanilla, salt, amaranth, and pumpkin seeds. Transfer to parchment paper. For loose clusters, let cool for 5 minutes before sprinkling with flaked salt and bee pollen, if using.
For bars, press into a ½-inch thick rectangle with using your fingers to start and then aa wet spatula. Sprinkle with salt and bee pollen, if using. Let harden, then cut into bars. Store in an airtight container: 1 month at room temp, 2 months in the fridge, or 6 months frozen.
*Some variations: Add cocoa powder, use a different nut or seed or a different nut/seed butter, add spice (cinnamon), matcha, fresh ginger, dried fruit, drizzle of chocolate…
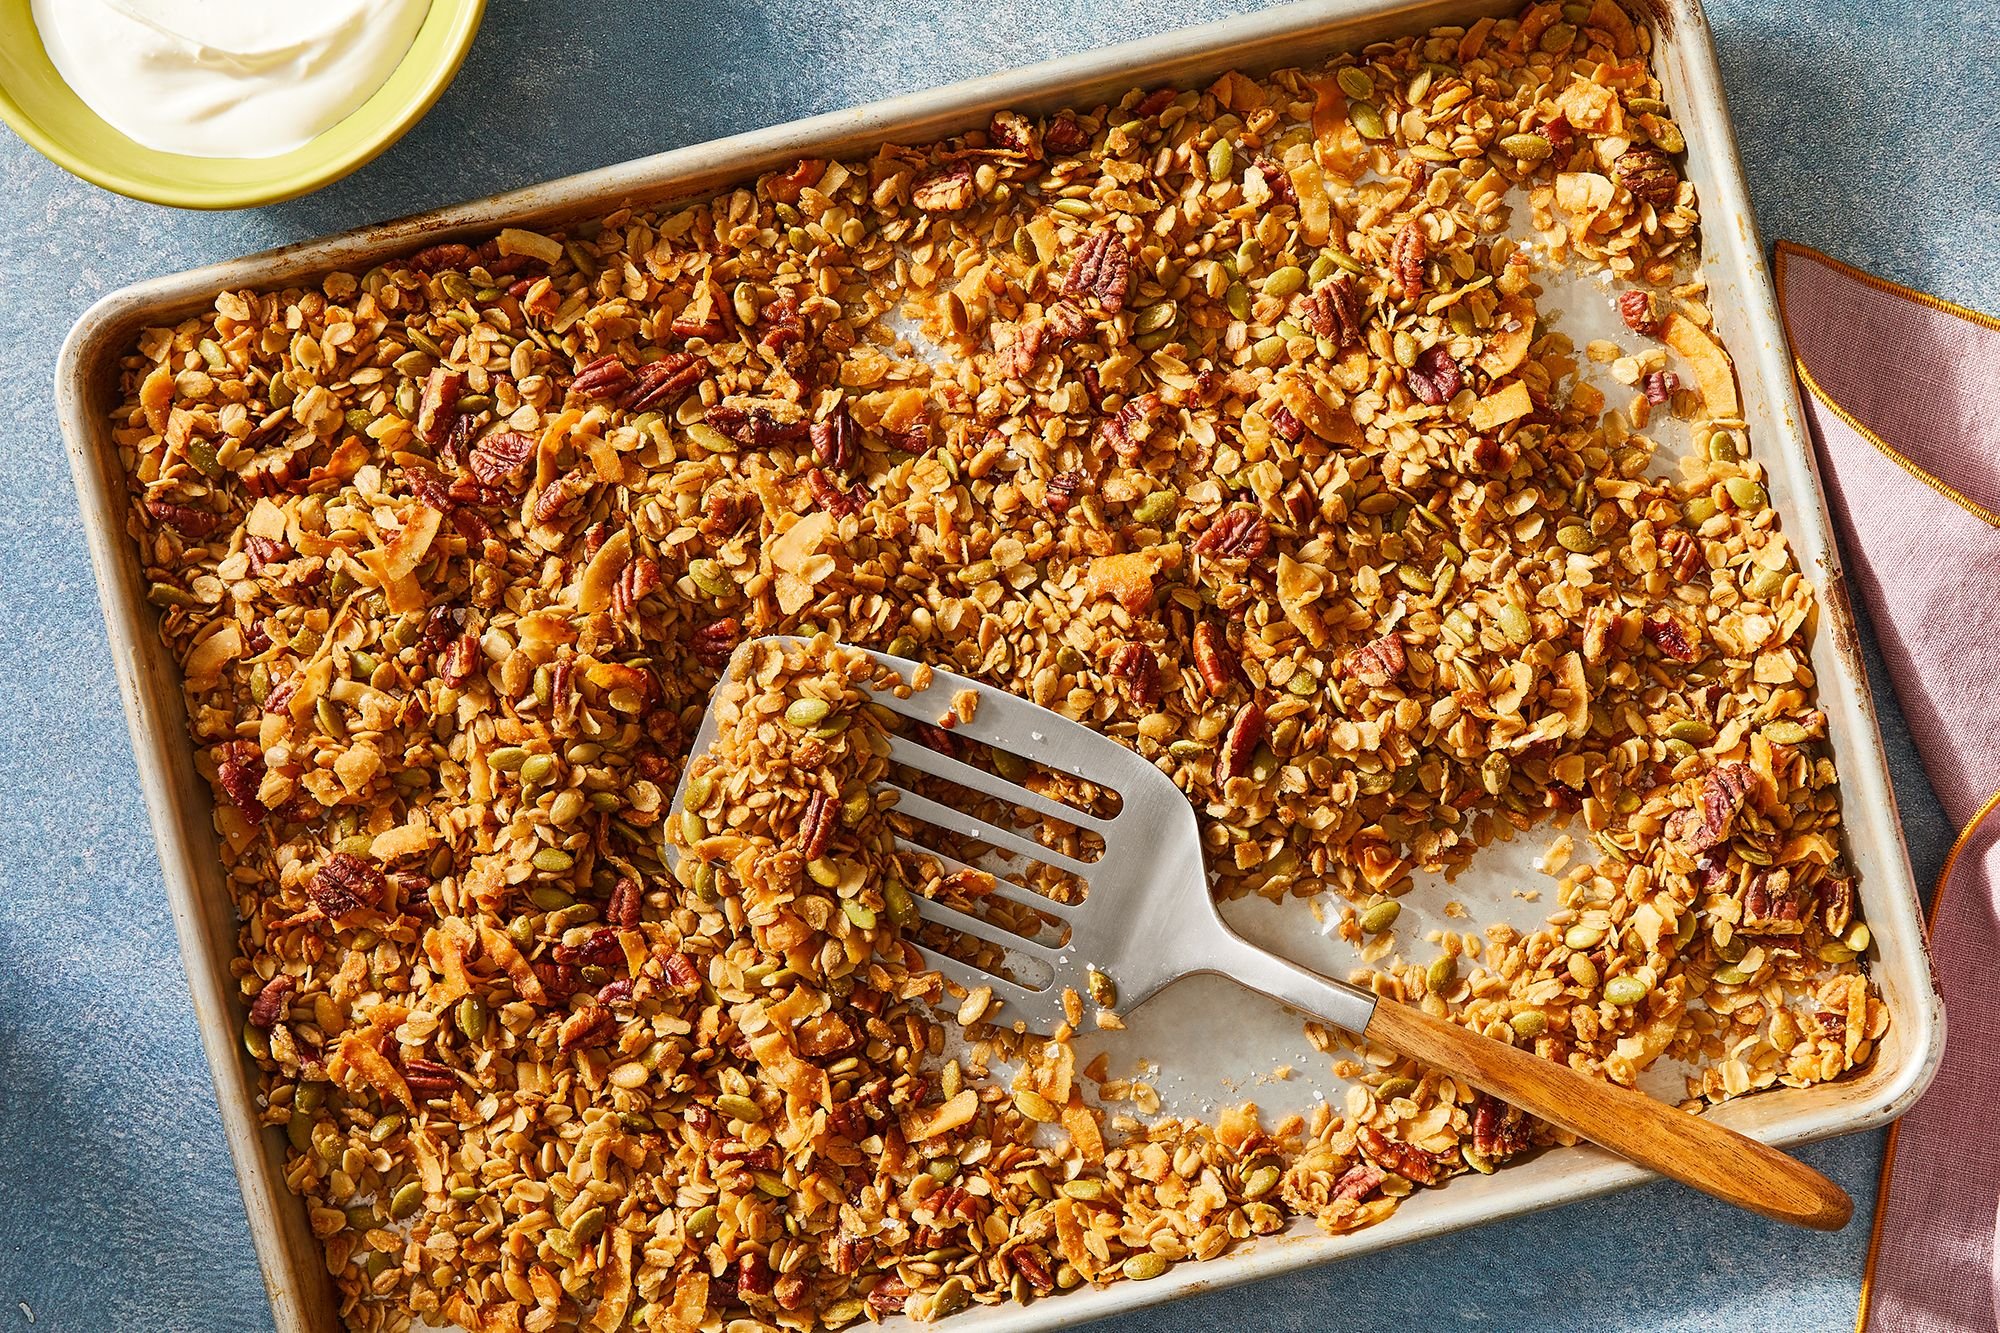
Image from Food52
Makes about 7 cups
This recipe, adapted very slightly from Early Bird Foods' best-selling Farmhand's Choice Granola, is like muesli after a vampy makeover. Olive oil, maple, brown sugar, and coarse salt form a rich, shaggy crust on wholesome innards like oats, pecans, and coconut shards.
Granola might be one of those snacks you tend to buy packaged, which is fine, of course, but once I started making my own granola—specifically, olive oil and maple syrup granola—it’s very hard to go back to the store-bought stuff.
This Genius recipe from Nekisia Davis was actually inspired by a brand’s granola with a comparable ingredients list; however, when you make your own granola, there are a few major upsides.
First of all, you have more control over flavor: You can add an extra handful of your favorite nuts and seeds in the ingredients list, or if you want to swap in different nuts (almonds, walnuts, or hazelnuts would be amazing), no one’s going to stop you! Regardless, when you’re toasting your own nuts, the flavor is just always going to be better than the packaged alternative. Plus, if you feel like adding a bit of extra seasoning, like ground cinnamon or cardamom, or stirring in some dried fruit after baking, you’re only doing the granola a favor. And did you notice the yield here? Seven whole cups! Take that, 12-ounce bag of packaged granola.
But perhaps the best thing about homemade granola is that you ultimately control the price. While a box or bag of the stuff may run you over $10 a pop at the store, when you’re buying the ingredients, you can shop at the bulk bin for the individual components, which is nearly always the more affordable option at the store already. Plus, you probably already have at least a few of this recipe’s ingredients already in your kitchen.
3 cup old-fashioned rolled oats
1 1/4 cup raw pecans, left whole or coarsely chopped
1 cup hulled raw pumpkin seeds
1 cup hulled raw sunflower seeds
1 cup unsweetened coconut chips
3/4 cup pure maple syrup
1/2 cup extra-virgin olive oil
1/2 cup packed light brown sugar (great without it!)
1 teaspoon kosher salt, plus more to taste
1. Heat the oven to 300°F. In a large bowl, mix the oats, pecans, pumpkin seeds, sunflower seeds, coconut, syrup, oil, brown sugar, and 1 teaspoon of the salt until well combined.
2. Spread the mixture in an even layer on a rimmed baking sheet. Bake, stirring every 10 to 15 minutes, for about 45 minutes total, until the granola is toasted.
3. Remove the granola from the oven; season with salt to taste. Let cool completely before serving.
Do Ahead: The granola can be made 1 month ahead. Transfer to an airtight container and store at room temperature.
Cook-With-What-You-Have Fried Rice
Adapted from Katherine Deumling of Cook With What You Have

Image from Cook With What You Have
This is the quintessential quick dinner, utilizing whatever bits and pieces you have on hand. Asparagus, corn, turnips, radishes, leeks, chard stems, green beans all work well in this dish. Quantities are all approximations and you can vary them as you like. You just want to be sure you cut the vegetables finely and fairly uniformly and you don’t want to crowd your skillet or wok. To avoid a soggy dish you need to be brave with the heat level and steer away from vegetables that give off a lot of liquid like tomatoes or zucchini, though finely diced zucchini would work well with enough heat!
Serves 4 (more or less)
4 cups cooked, cooled rice (I recommend making short-grain brown rice as described below, if you can)
2 tablespoons coconut, sunflower or olive oil
1/2 a small onion, finely diced
2 cloves garlic, minced (or one or two stalks of green garlic, minced–using the whole things except for the ratty tops)
2 teaspoons grated fresh ginger
1-2 ounces of bacon, cut into small dice
1 1/2 cups of peas (fresh or frozen) or snap peas, cut into 1/2-inch pieces
2 small carrots, cut into small dice
1 Serrano chili, seeded (if you don’t want it very spicy) and finely chopped or 1/2 teaspoon red pepper flakes (optional)
2 eggs, lightly beaten
2-3 teaspoons Tamari or soy sauce
2 teaspoons fish sauce (or to taste)
3 tablespoons roughly chopped basil, mint or cilantro (or a combination)
Salt
Heat the oil in a wok or wide skillet over high heat. Add the onions, garlic, ginger, carrots, Serrano chili, and bacon and cook stirring very frequently for about 3 minutes until the vegetables begin to soften.
Add the peas and the rice and mix everything very well. Cook for about three more minutes to heat the rice and peas through.
Then push the contents of the pan to one side and add the eggs to the empty spot and scramble them until almost set. A few stray peas or rice kernels will make their way in which is just fine. You just don’t want to mix the raw egg into the rice right away since you’ll loose track of it as it just coats the kernels instead of scrambling.
When the eggs are almost set, mix them gently into the rice, add the soy and fish sauce, stir well and then mix in the herbs. Adjust seasoning–it may need salt or more soy or fish sauce or a squeeze of lime juice–and serve immediately.
More from Katherine: A student of mine turned me onto a classic (as I learned) way of cooking brown rice a few years ago. This method works particularly well with short-grain brown rice and has converted many a brown rice skeptic in my circles. You bake the rice in the oven after adding boiling water, a bit of butter and salt. Tightly covered it cooks away for an hour. And then watch out! I eat too much of it every time. It’s fluffy and buttery and tender and sweet and really just perfect.In any case, I make a big panful of this brown rice whenever I make it since it also makes a noteworthy fried rice the next day (or week or month since it freezes beautifully). Having some cooked, frozen rice on hand is a gift on a busy day. Rice thaws fairly quickly and when re-purposed into friend rice or added to soup or gratin or even a cold salad with a zippy dressing, is hardly any worse for wear. In fact for fried rice to be good you want to use rice that was previously cooked and cooled so the grains are sure to separate nicely.
In my kitchen fried rice is another perfect cook-with-what-you-have kind of dish. Whatever bits of vegetables and sometimes meat I have on hand all fry up nicely when cut into small pieces and given plenty of room and heat. Scoot the rice and veggies to the side and scramble a few eggs in the same pan before mixing them in gives it extra heartiness. And any number of fresh herbs tossed in at the end are a bonus. In this case it was basil and mint. Sometimes I add chopped, roasted peanuts and a good splash of coconut milk (unorthodox I’m sure but very good nevertheless).
You can scramble a few eggs in one side of the pan and then mix them into the rice. So cook some rice, lots of rice, and then make fried rice or rice custard.